
Friday, October 28, 2011
Name that hat!
I sure am happy that I asked for help on this one! I was totally stuck trying to figure out a name for my latest knitting pattern, but after I asked for help on my Facebook page yesterday, sixteen people chimed in with plenty of fun names to choose from! Now the hard part: we need to narrow it down to one. Please vote for your favorite and feel free to share a link to this post on your own Facebook wall so your friends and family can get in on the vote!

Wednesday, October 12, 2011
More Sock Monkeys
 So I've learned something over the past year: some people LOVE sock monkeys. When my photographer friend, Kara asked me to make her a sock monkey hat she could use with babies that she photographs, I didn't quite "get it". I as
 ked her, "So you want a hat that looks like a sock monkey head on top of the baby's actua
 l head?" She insisted that she has seen pictures on the web and that it was cute, so I trusted her. I wasn't able to find a knitting pattern to make one (all the patterns available at the time were crocheted) so I thought I'd see what I could come up with on my own. I've had the pattern up for sale for a little over a year now and of the 756 sales I have so far in my Etsy shop, I bet the sock monkey hat pattern is at least 400 of those sales. So I'm glad I listened to Kara on this one because I'm 100% sure it never would have occurred to me to design such a thing without her sug
 gestion!
I've been hard at work for the past 6 weeks trying to catch lightening in a bottle again. My sock monkey hat customers are by far my friendliest customers and I have received more e-mails than I can count over the past year from them. Many times, they're just complimenting the hat & saying it's the best one they've seen. Lots of people have told me they like my pattern because it's "not creepy like lots of sock monkeys are". And I've had a hand-full of people ask me to design other patterns to go with the hat, most often a matching sweater.
I thought about the design for a long time because I couldn't quite see it in a way where it wasn't over-the-top gaudy. In the end, I decided to write a pattern that would give the knitter 3 options: first, they could just knit the roll-neck raglan in "sock monkey colors" and be done with it. Option 2 is to do the duplicate-stitch design (shown on the baby) to make a small monkey face on the chest. And option 3 is to make an intarsia square that you then crochet (or sew) onto the sweater front. So, 3 options for varying levels of how much you want your sweater to scream "SOCK MONKEY!" and 3 options for level of difficulty (for the record, this is as easy a sweater pattern as you'll ever find and the only thing I consider remotely difficult is the intarsia square option.) I hope people like it!
Now I'm working on re-writing the hat pattern using the same yarn that I used for the sweater so people can truly make a matching set. I'm also adding 2 adult sizes to the hat pattern because it was previously written for newborn - preteen (I had no idea I'd get so many requests from people to help them modify the pattern for a teen or adult!) I have to have it done by the end of the month because I have a yarn shop owner near Madison, WI waiting for my sock monkey hat & sweater patterns. She is going to package them with yarn and sell the kits at a special event day the shops in her town have planned.
If you're a blog reader who plans to purchase the new sock monkey sweater pattern in October, use the code "11spring" at check-out to get $1 off!
Monday, August 29, 2011
Frame Collage

Second-hand frames, spray-painted chocolate brown and arranged as one gigundic "artwork": sounds simple, but this project took a looong time. First, I had to accumulate several frames. I got most of these at a second-hand store, and many of them didn't have hangers, glass, etc. and had to be cobbled a bit. When they didn't have glass, I used an exacto knife on some thick plastic that I had on an old hanging. Then I had to select the photos for each frame and develop them. I arranged them on the floor in a way that I liked, and they ended up in this "football" shape.
Hanging took a bit of time, using a leveller to get the frames as straight as I could. The frames were all different colors and remained that way for some time... Recently, I finally finished the project by taking everything out of the frames, and taking the frames to the backyard for two coats of spray primer, and two coats of paint. This will take all day, and as you have to do short spurts with spray-paint in order not to drip, it will cripple three fingers on each of your hands for approximately three days.
The whole project, with photos, frames, hardware and paint, cost me less than fifty bucks. Still, I recommend that you be not only thrifty, but clinically insane to attempt this many frames. Still, with 23 framed photos, this project could have easily cost me a few hundred bucks. Glad it's done!
Sunday, July 3, 2011
Tulle Flower Headbands
I've been seeing these tulle flower accessories everywhere and figured it couldn't be too hard or expensive to make your own. I picked up this one at Kohls on clearance for $2 for inspiration and studied it carefully. The back of this one has a bar pin back as well as a serrated hair clip glued to a metal disc so that you could pin it on your sweater OR clip it to your head.


The only real difference I can see between my flower and the one that I bought from Kohls in the first picture is that it looks like the tulle circles in that flower were cut with a scalloped edge.
Total time, about 15 minutes!
Edited to add: After viewing a few more tutorials online, most people are sewing down the folded points of the tulle onto the felt circle to secure it. This would take a little more time, but prevent the gluey mess. I'm going to try that next time!

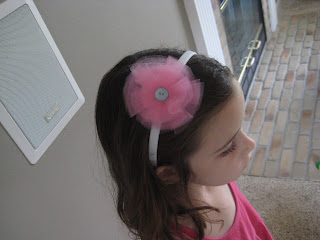
For my first attempt, I wanted to make something for my five year old daughter, so I thought I would try a hot pink flower and attach it to a headband. Here are the supplies I used:

10 discs of tulle cut into large circles (4 inches across)
10 discs of tulle cut into smaller circles (3 inches across)
2 round pieces of white felt (1.5-2 inches across) **Note** It is probably best to use a color of felt that closely matches your tulle color so that it isn't as noticeable under the tulle flower when finished.
Decorative beads or a button to glue into the middle
Headband (we already had one wrapped in white ribbon)
Hot glue gun
It's important to note that these tulle pieces need not be exactly circular. In fact, to save cutting time, I folded my tulle over and over and just cut out a big stack of 10 circles free hand all at once.
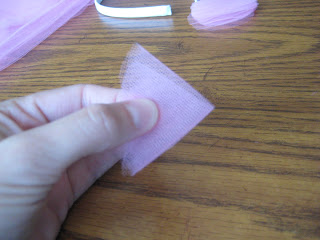
Starting with the larger tulle circles, I placed two one on top of the other and folded the disc in half like so.

Then I folded that in half again until I got a wedge shaped thingy-ma-jobbie like this:

Then I put a dab of glue in the inside corner where it comes to a point and pressed the point into the middle of one of the discs of white felt.

I repeated the same process for the remaining 8 large tulle circles, creating each "petal" using two layers of tulle and slightly over lapping them when gluing them down. The end result is a base layer of five petals that completely cover the white felt circle.

For the top layer, I did the exact same thing with the 10 smaller tulle circles. I wasn't too tidy with the glue considering that tulle fabric has holes all over it, so I was constantly getting gluey fingers when I'd try and press the petals down. The clump of glue left in the middle after I finished gluing all of the petals down was a little too substantial for the dainty pearl beads I had a mind to stick into the center, so instead I covered it up with a turquoise button to make it look a little more polished.
So now I had a tulle flower glued to a white felt circle. All that was left to be done was to sandwich a head band between that piece of felt and the other piece of felt, glue liberally....

...and VOILA!
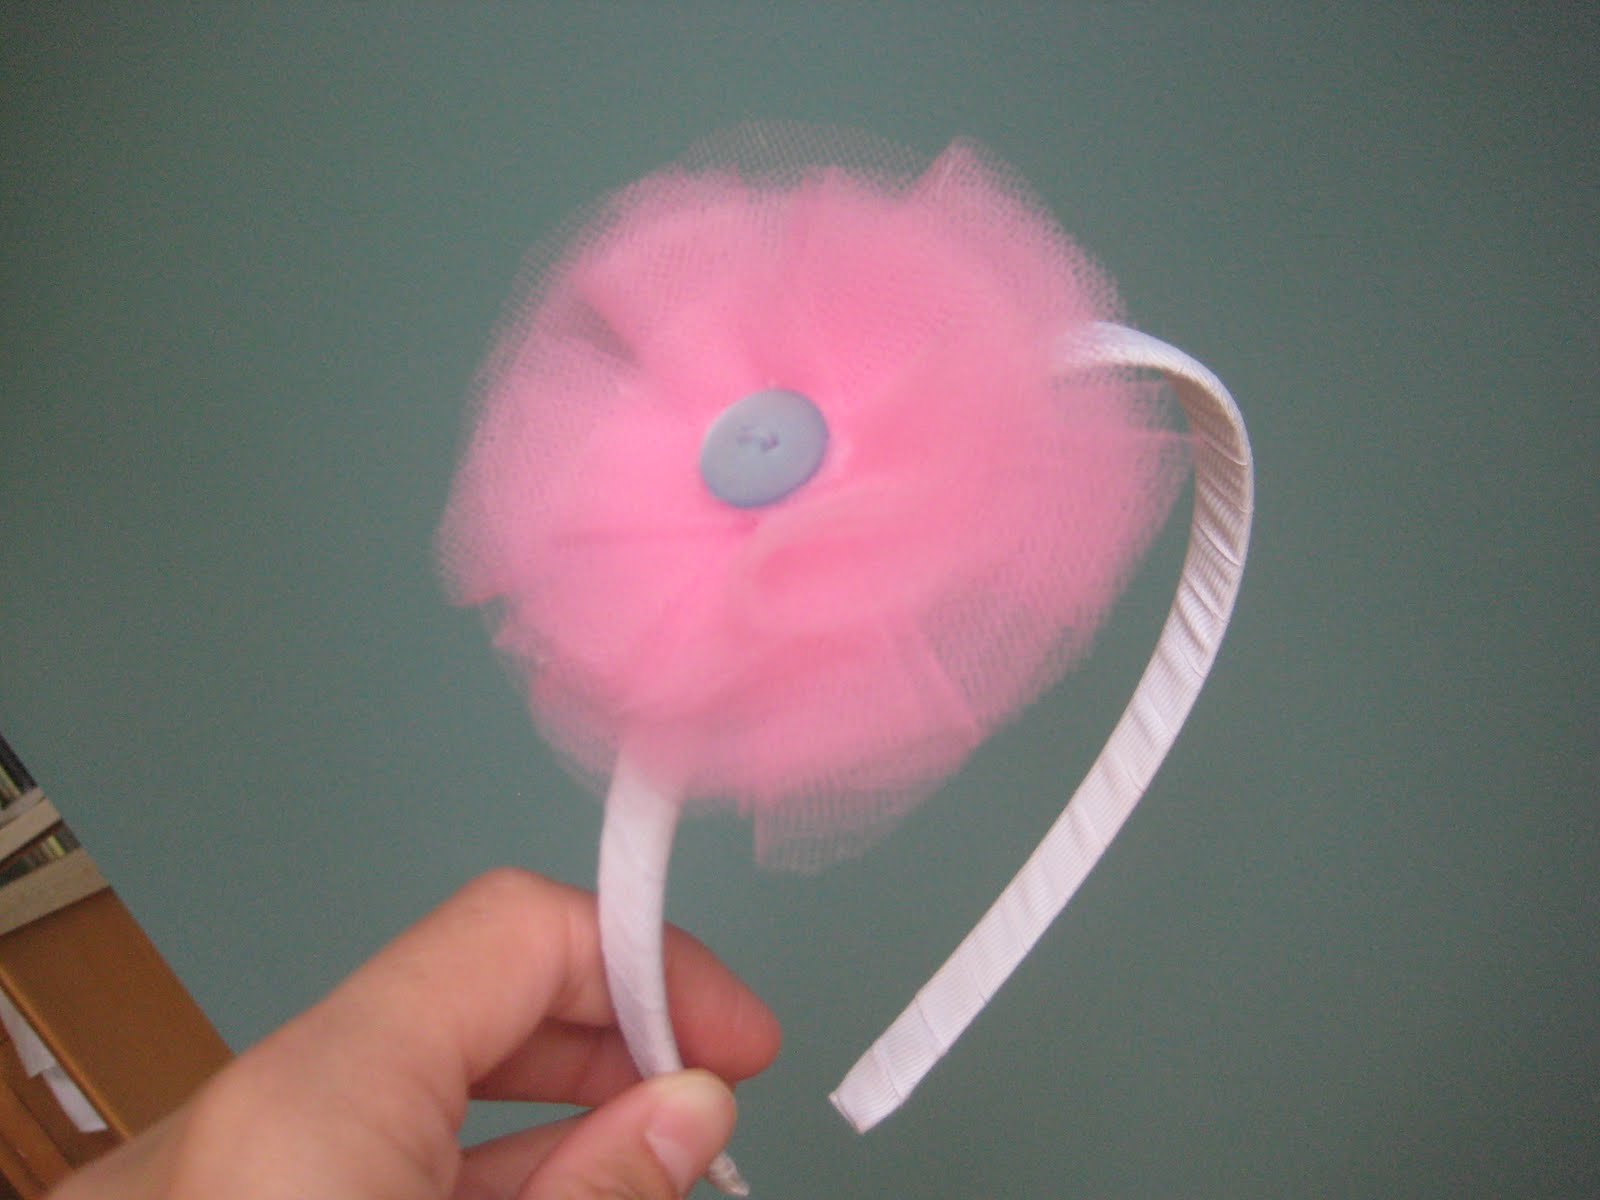

Total time, about 15 minutes!
Edited to add: After viewing a few more tutorials online, most people are sewing down the folded points of the tulle onto the felt circle to secure it. This would take a little more time, but prevent the gluey mess. I'm going to try that next time!
Monday, June 20, 2011
Smock Dat
 So I really wanted to knit something that used a "smocking" technique. My mom made me a "colonial girl" dress when I was 8 which I LOVED, and the best part of the dress was the smocked apron. It was white and had ruffles and was just adorable. So smocking makes me think of adorable little girl clothes.
Here's the hitch: I couldn't find any patterns I liked, and I didn't really know how to smock anyway. Well, let me tell you, there is just nothing in existence that you can't learn how to do from the internet. After an afternoon surfing the web, I knew enough to come up with my latest knitting pattern.
I'm so proud of this one that I assume you can hear the buttons popping off my shirt from miles around :)
Pin It
Wednesday, May 4, 2011
My Crafty Soul Mate


You knew the quilting thing was just a short distraction, didn't you? An affair, as it were. Now I'm back with my "steady", my soul mate: knitting.
I've been working on the Ellie Dress pattern for more than a month now. It took forever because 1) I wan
 ted to offer it in 8 different size
 s. That means lots of test-knitting so I know my math is correct in all the different sizes.
2) The front of the bodice was written as a chart instead of as written instructions. This means I had 8 different charts to write to show the argyle pattern in each size. If I never see another Excel spreadsheet full of charting icons, it will be too soon.
Today my friend Melodee came over with her little girl and after some initial suspiciousness on the part of my little model, she warmed up and we got some great shots. By the way, that tattoo is totally real and not at all photo shopped onto her little arm. Can you believe that?! Anyway, I may not have eaten lunch until 2 this afternoon, but I managed to get in a photo shoot, a visit to the gym, an hour's worth of photo editing and finishing up the pattern, then writing the listings for my Etsy shop and for Ravelry. It's kind of like that army thing: "We do more before breakfast than you do all day..." or something like that.
Thursday, April 21, 2011
Baby Clothes Name Blanket

Let me start here by saying this project is a surprise birthday gift for my daughter next week. So if anyone that reads this spills the beans before I have a chance to give it to her the day after Easter, just go ahead and expect me to show up at your door to administer a beat-down for leaking this out of our little Craft Cone of Silence. What is posted on the blog, stays on the blog. Until Monday, anyway.
But I digress...this story starts 8 1/2
 years ago. I am pregnant with my daughter and since second babies don't usually get showers to celebrate their forthcoming arrival, I wanted to do something else special so this baby would know we were happily anticipating her appearance in the world. I stole an idea that my mom had at her baby shower for me: name squares. I passed out and mailed 8x8" squares of fabric to my (female, because we all know how most men are when you ask them to do something crafty...) friends & family and asked them to write a name on
  the square. I said it could be the name they think we should use for this baby or just their favorite baby name. This works best if you do it before you start blabbling the sex of the baby, because if you do that first, you're going to get a very one-sided blanket out of it. As a person who owns a name blanket, I always thought it was fun to see what names people liked, which people thought I was going to be a boy or a girl, and what names were popular at the time I was born.
After I got the name squares back, I
 embroidered them right away (I was still pregnant and still had free-time while my 2-year-old napped!) Then, I put them in a drawer....for 8 years.
In my defense, what started out as a name blanket, morphed into a "name and baby clothes" blanket somewhere in Maya's toddlerhood. I thought it would be cute to incorporate clothes she wore as a little girl into the quilt instead of just buying random fabric to patch the name squares together. So, I had to wait a while for her to outgrow her clothes and amass a large enough collection of things that were memorable and not too stained to use!
I went with a twin size because 1) that's the size her bed is right now, and because she has the small bedroom, it's not going to get any bigger, and 2) it's possible to machine-quilt a twin size (and probably even a fill size, but I wouldn't try it with a queen or larger.)
Since my name squares were 8x8", I cut out a matching square from heavy card stock to use as a pattern on the clothes. Many things (shirts, dresses) were easy to find a square to use, but other things (pants, diaper covers, shirts with logos too close to the neckline) took some creativity. On a few shirts, I ended up cutting out two squares, one from the back that I flipped around so the right side faces up, then one from the front that incorporated the neckline, then I sewed the two together so it was still a square, but I got all of the fancy neckline stuff in. If you enlarge the quilt picture, you can see a blue square that was a shirt with lots of necklaces sewn on it and a green jumper with a butterfly on it - both of these squares were done this way. There were also a few items that had cute logos (strawberry shortcake comes to mind) that were in a really inconvenient spot. So, I cut the logos out, cut my square of fabric from wherever worked best, then used my sewing machine as a serger and sewed that sucker back into place on the new square of fabric.
I picked two other challenging garments to picture here: the first is a floral top that had some stains on the front. I thought about using the back (it had cute pearl buttons all the way up the back) but I settled on the side because there's a bow, and my little girl loves her some bows. The side was slitted, so first I sewed up the slit, then cut out the square.
The second challenge was two diaper covers I saved from dresses Maya loved (I think I sold the dresses at a garage sale). They weren't big enough to give me an 8x8" square, so I cut the biggest triangles I could out of them, then sewed them together. After ironing the seam, I was able to cut out my 8x8" square.
For a twin size comforter, I needed 9 squares across and 12 squares going down each row. So, we're talking 108 different squares. As I was cutting squares, I realized I didn't have quite enough different clothes, so I also used a plain pink velour baby blanket, and I cut more than one square from a few of the larger-sized garments.
Subscribe to:
Posts (Atom)