Boy, time for crafting has really gone by the wayside for me! (And the rest of the contributors, I assume, based on the recent blog activity!)
I realize that this blog post won't have relevance for many of you out there, unless you have a Star Wars obsessed daughter like I do. My darling 5 year old girl got ahold of my husbands old Star Wars toys circa 1979 about six months ago and hasn't looked back. She talks at great length about power droids, the differences between a Cloud Car and a Sand Speeder, and asks why Padme Amidala's last name isn't Skywaker since she got married to Anakin. She also frequently request that we all act out the characters as a family. She usually asks me to be Darth Vader....I'm still not sure if that is a compliment or an insult. Anyway, it sure beats playing Barbies every day!
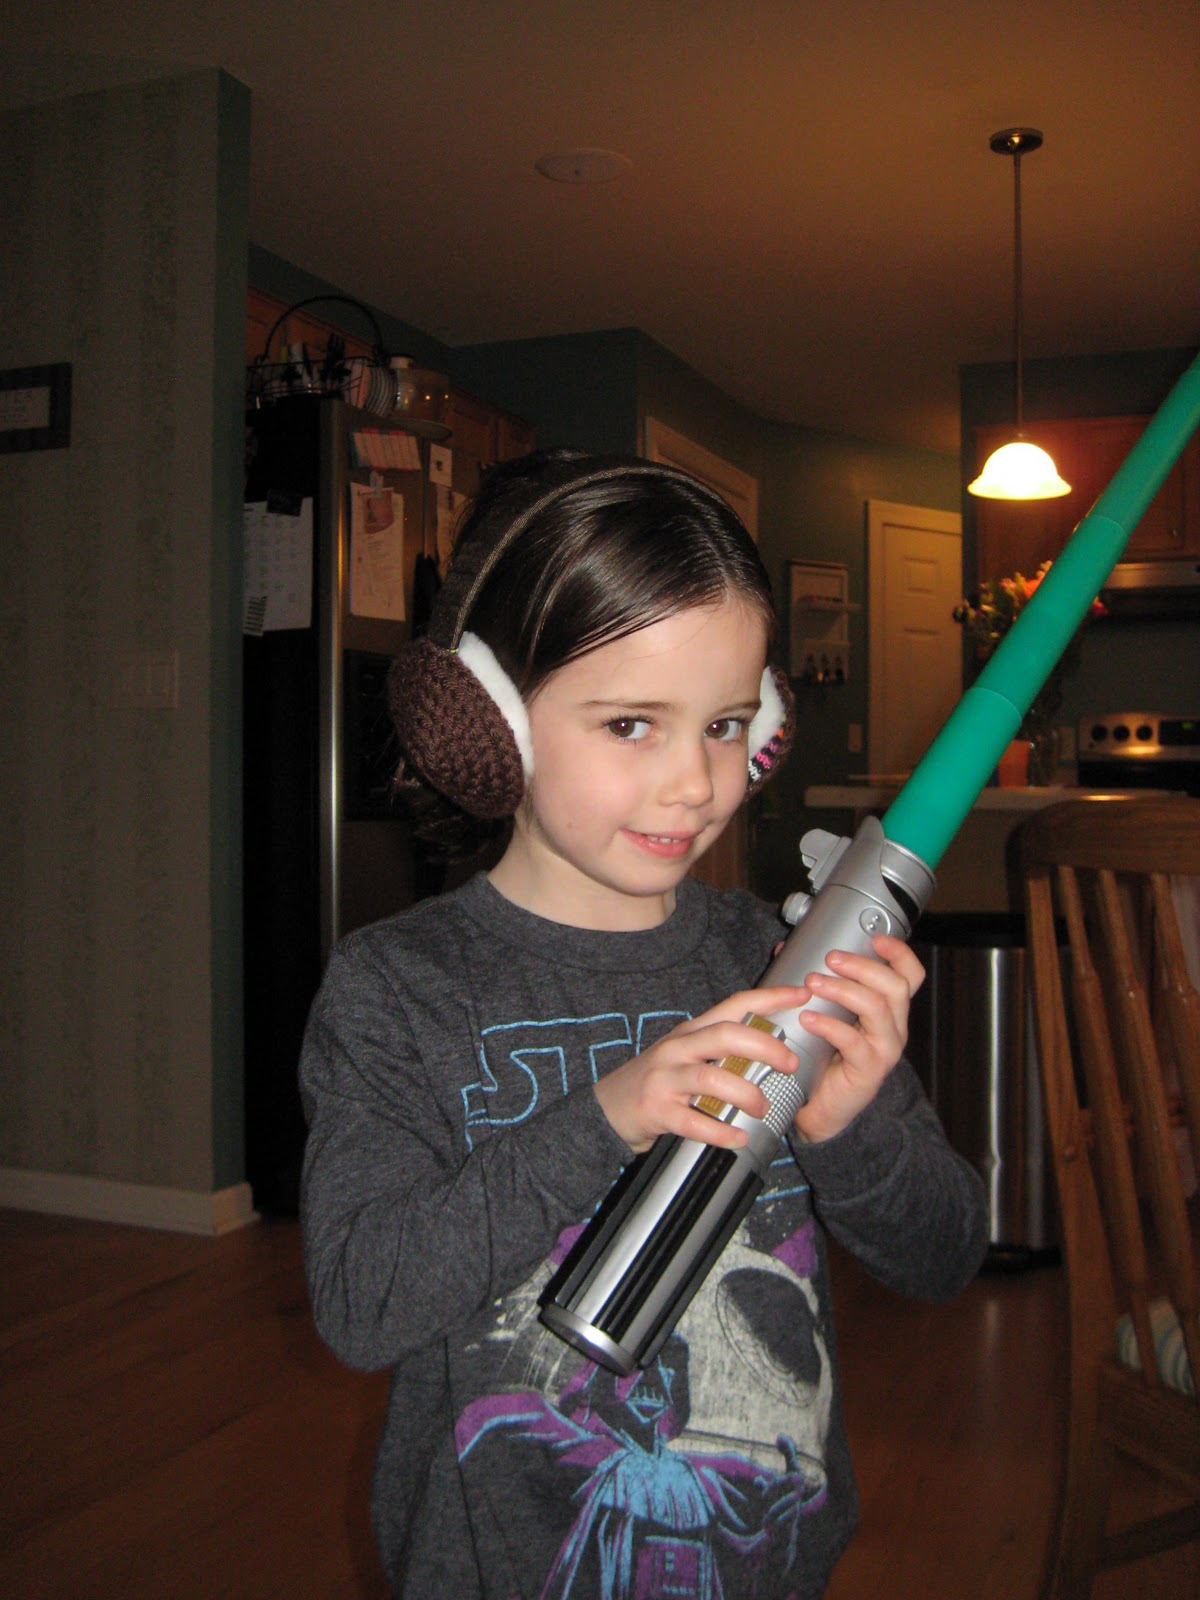
She was recently invited to a neighborhood boy's Star Wars themed birthday party, and was told she could dress in character, if she wanted. Um......YEAH! She decided on Princess Leia (over Padme Amidala and Ahsoka Tano of the Clone Wars animated series) and I thought it would be fun if I could figure out a way to give her Leia's hairdo. Her hair is pretty short these days, so I started to envision using brown earmuffs and making some buns out of yarn to attach to them. Here's the end result.......

What's that you say? You'd ALSO like to have some Princess Leia hair? Well you are in luck because I created a tutorial so that you can make your own!
Supplies needed for PLH (Princess Leia Hair)
- A pair of earmuffs
- 165 yards of brown yarn
- Hot glue gun
- A spool of brown grosgrain ribbon, either 5/8 in. or 7/8 in. width. (optional)
- The force
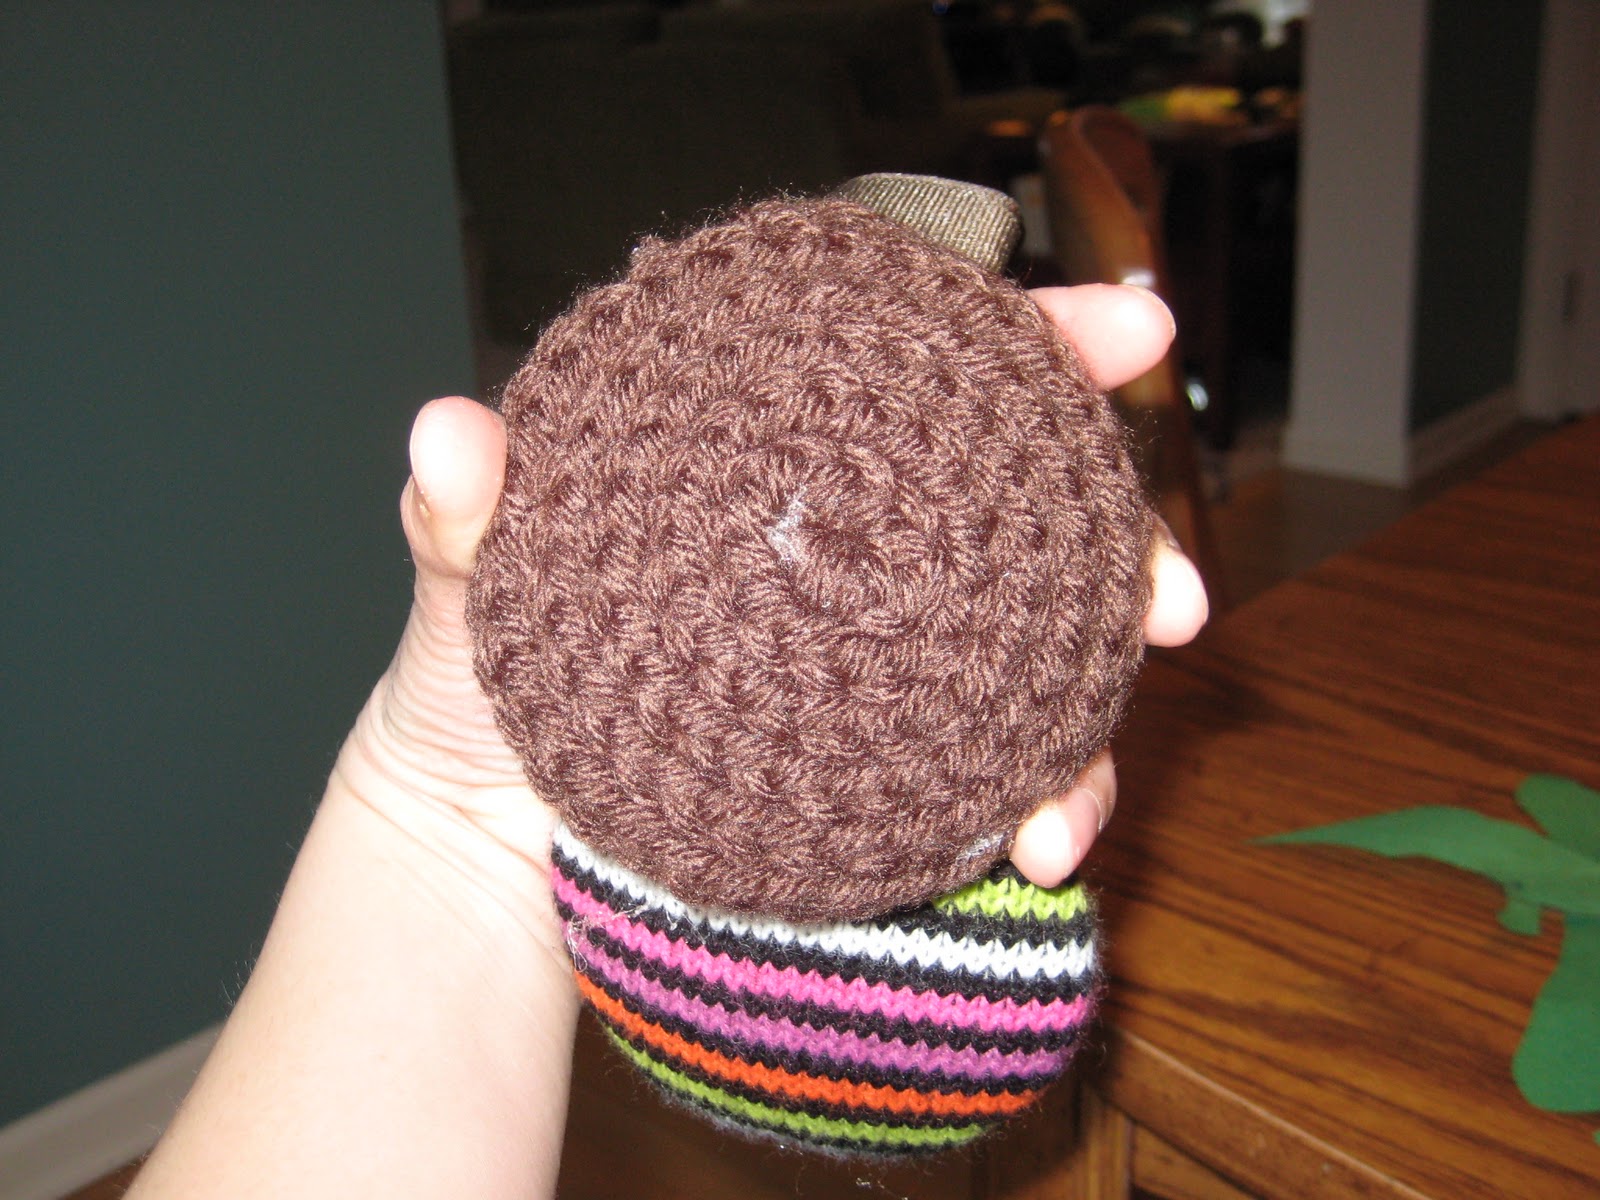
First, locate yourself some earmuffs. I was trying to find the old school brown furry kind that you used to be able to buy for about a dollar. The earmuff selection was sparse in my local stores in March, so I ended up with these bad boys. The white part that is up against the ear is really too fluffy for optimal results, but it's all I had to work with.

Since Leia does not have orange, purple and green stripes on the top of her head, I decided to wrap the headband part of the earmuffs in brown grosgrain ribbon, overlapping the ribbon and hot gluing it on the inside every time I looped it around. I had about 100 spools of ribbon laying around my house (I'm a member of Girls Hairbow Makers Anonymous), but none plain brown. I took a polka dot print and turned it so that the "wrong side" faced out, making it the right side. What the what? Refer to Exhibit A below.
 |
| Exhibit A |
Next I took a strand of the brown yard and cut a length of 55 inches. Then I did that 8 more times so that I had 9 pieces of yarn 55 inches long each. Next I knotted one end very tightly to prepare the strands for braiding. I realize that Leia's buns aren't really braided, but I couldn't think of another way to secure all of the strands of hair to the earmuffs with a glue gun without creating a huge, gluey gummed up mess. If any of you in cyberland can improve upon this step, please share your ideas in the comments section at the end of this post!


It helps to have some tension on the yarn when you are braiding, so you can either find a willing participant to hold the knot while you braid, or you can stick a safety pin through the knot and pin it to your couch "friendship bracelet style"!

Braid all of the yarn until you get to the last two inches or so, then put a loose knot in that end in case you need to make adjustments later.
Fire up your glue gun and have extra glue sticks handy - I used about two and a half for the entire project. Take the braid end with the tight knot, squirt some hot glue in the center of the outside of one earmuff, and glue the knot down so that the braided yarn is flat, not on its' edge. Then, start gluing the braid down flat in a spiral pattern taking care to ensure there are no gaps.

Keep going until you've nearly covered the whole earmuff with the braided yarn. When you get near the end, you can take out the loose knot in the remaining end and adjust the yarn/braid longer or shorter, then knot it back together tightly. Trim the ends of the yarn close to the knot, then tuck the knotted end partly under the rest of the braided area (or don't) and hot glue that sucker down. The end result should look something like this.
Repeat this process on the other side. Give them to your giddy daughter, or keep them for yourself to wear to Pick N Save/Kroger/Jewel on double coupon day!
May the force be with you!